
Protecting your home from moisture is key. Installing a moisture barrier is a smart move. The cost can change based on a few things, but it’s worth it to avoid expensive fixes later. A moisture barrier stops mold, mildew, and damage, keeping your home safe and healthy.
Knowing the cost of installing a moisture barrier is important. It helps stop moisture problems and keeps your home energy-smart. Spending on a moisture barrier is a smart choice, given its long-term benefits.
Key Takeaways
- Moisture barrier installation helps prevent moisture-related issues
- The cost of moisture barrier installation varies depending on several factors
- A moisture barrier helps prevent mold, mildew, and structural damage
- Moisture barrier installation is a crucial step in protecting your home
- The cost of moisture barrier installation is a worthwhile investment
- Moisture barrier installation ensures your home remains energy-efficient
Understanding Moisture Barriers and Their Importance
Moisture barriers are key to keeping your home safe and healthy. They stop moisture from getting in, which can cause water damage, mold, and pests. There are many moisture barrier types, like plastic sheets, spray-on coatings, and membrane systems. Each one has its own benefits and is best for certain uses.
The benefits of moisture barriers are many. They stop water damage, reduce mold and mildew, and keep pests away. Moisture barriers also improve air quality, cut down on energy costs, and protect your home’s structure. With a moisture barrier, your home becomes safer, healthier, and more comfortable.
- Water damage and flooding
- Mold and mildew growth
- Pest infestations
- Structural damage to the home
Knowing about moisture barriers and their types helps homeowners protect their homes. Whether you’re building a new home or updating an old one, a moisture barrier is crucial. It ensures your home stays safe and healthy.
Types of Moisture Barriers Available
There are many types of moisture barriers to protect your home. The cost to install them varies based on the material. Polyethylene and PVC are popular because they work well and last long.
Some common types of moisture barriers include:
- Polyethylene sheeting: a cost-effective option that is easy to install
- PVC membranes: a more durable option that is resistant to punctures and tears
- Epdm rubber: a flexible and versatile option that can be used in a variety of applications
Choosing the right moisture barrier depends on your home’s needs. Consider your climate, soil, and drainage. This ensures your home stays safe from moisture damage.
Knowing about different moisture barriers helps you choose the best one for your home. This choice can save you money and protect your property for years.
How Much Does It Cost to Install a Moisture Barrier
Installing a moisture barrier involves several cost factors. It’s important to understand these costs for a successful project. The total cost includes material, labor, and equipment expenses.
The price of materials can range from $0.50 to $2.00 per square foot. This depends on the material’s type and quality. Labor costs vary based on location, contractor, and job complexity. They can be between $1.00 and $3.00 per square foot.
Average Material Costs
- Basic moisture barrier: $0.50 – $1.00 per square foot
- Mid-range moisture barrier: $1.00 – $1.50 per square foot
- High-end moisture barrier: $1.50 – $2.00 per square foot
Labor Cost Breakdown
Labor costs are a big part of the moisture barrier installation costs. Getting quotes from different contractors is key. This helps you find the best price.
Additional Equipment Expenses
There are also extra equipment costs to think about. These include specialized tools or rental fees. The cost depends on the job’s specific needs.
Factors That Influence Installation Costs
Installing a moisture barrier comes with several cost factors. Knowing these cost influencers helps with budgeting. The area size, location, and climate, plus any damage, affect the cost.
The size of the area is a big factor. Larger areas need more materials, raising the cost. The home’s location and climate also matter. Homes in humid or extreme climates might need special materials, increasing costs.
- Existing damage repairs: Fixing water damage or mold before installing a barrier adds to the cost.
- Material costs: The type and quality of materials used can also impact the cost of installation.
- Labor costs: The cost of labor can vary depending on the location and the complexity of the installation.
Understanding these cost influencers and moisture barrier installation factors helps homeowners budget better. This ensures they get the best value for their money.
Choosing the Right Material for Your Climate
When picking a moisture barrier, the climate matters a lot. Different climates need different barriers to work well and last long. For example, in humid areas, you need a barrier that lets moisture pass through to avoid buildup. In dry places, a barrier that keeps moisture in is better to stop loss.
To make a good choice, think about these things:
- What’s your climate like? Is it humid, dry, cold, or a mix?
- How much moisture is there? Is it high, low, or somewhere in between?
- Do temperatures swing a lot or stay pretty steady?
Considering these points helps pick a barrier that fits your climate. This ensures it works well and avoids problems like mold, damage, and energy loss. Remember, the right moisture barrier selection depends on your climate.
| Climate Type | Moisture Barrier Recommendation |
|---|---|
| Humid | High permeability rating |
| Dry | Low permeability rating |
| Cold | Insulated moisture barrier |
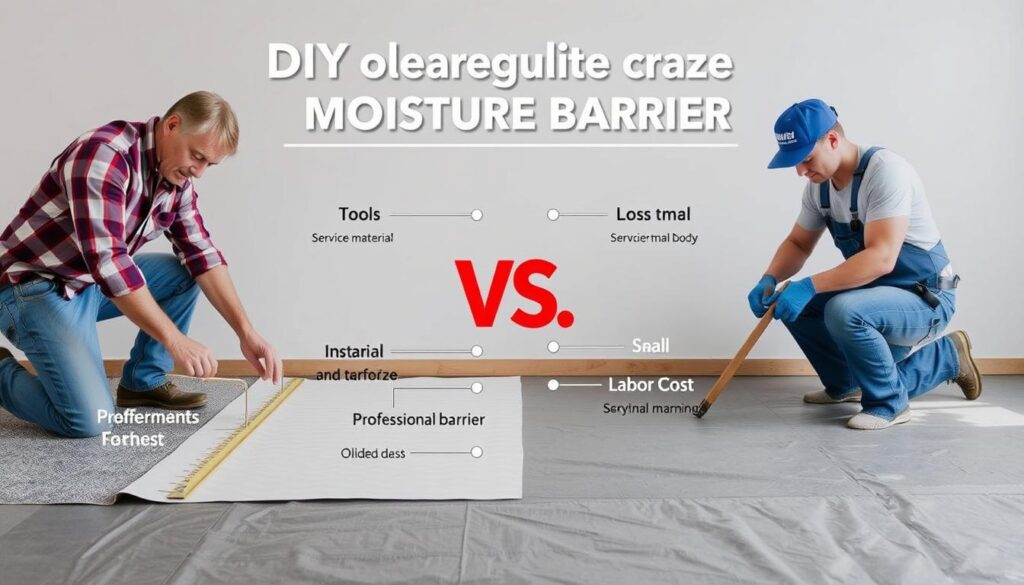
Professional vs DIY Installation: Cost Comparison
Homeowners face a choice when installing a moisture barrier: DIY or hire a pro. The cost difference between DIY and professional installation is key. Professional installation offers warranty and expertise, which DIY may lack.
Professional installation brings peace of mind with a job done right and fast. DIY, while cheaper, needs the right tools and skills. The cost depends on area size, materials, and labor.
Key factors in the cost comparison include:
- Material costs: The cost of materials, such as the moisture barrier itself, adhesive, and fasteners.
- Labor costs: The cost of hiring a professional or the DIY effort.
- Tools and equipment: The cost of specialized tools or equipment needed.
DIY can save 30-50% of the cost. But, DIY comes with risks and challenges. Professional installation offers a warranty and expertise, which are valuable.
The choice between DIY and professional installation depends on weighing costs and benefits. Homeowners should consider their needs and budget to make the best decision.
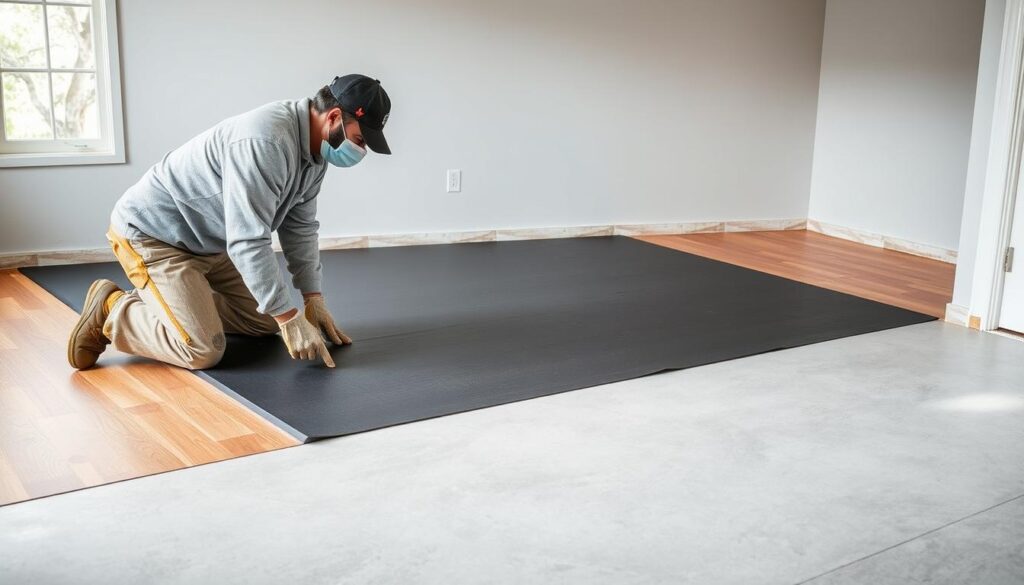
Preparation Steps and Their Associated Costs
Before installing a moisture barrier, it’s key to prepare the area well. This means cleaning the area to get rid of debris, dirt, or old adhesives. The cost of this step can change based on the area’s size and how much cleaning is needed.
Also, repairing any damage to the surface is important to stop more moisture problems. This might include fixing cracks or holes. The cost of these repairs depends on how much damage there is. Applying a primer if needed can also add to the cost.
Here are some important steps for preparation:
- Cleaning the area to remove debris and dirt
- Repairing any damage to the surface
- Applying a primer if necessary
The costs for these steps can vary. But, it’s important to include them in the overall preparation costs for a good installation. Knowing about the installation preparation and its costs helps homeowners make better choices for their moisture barrier installation.
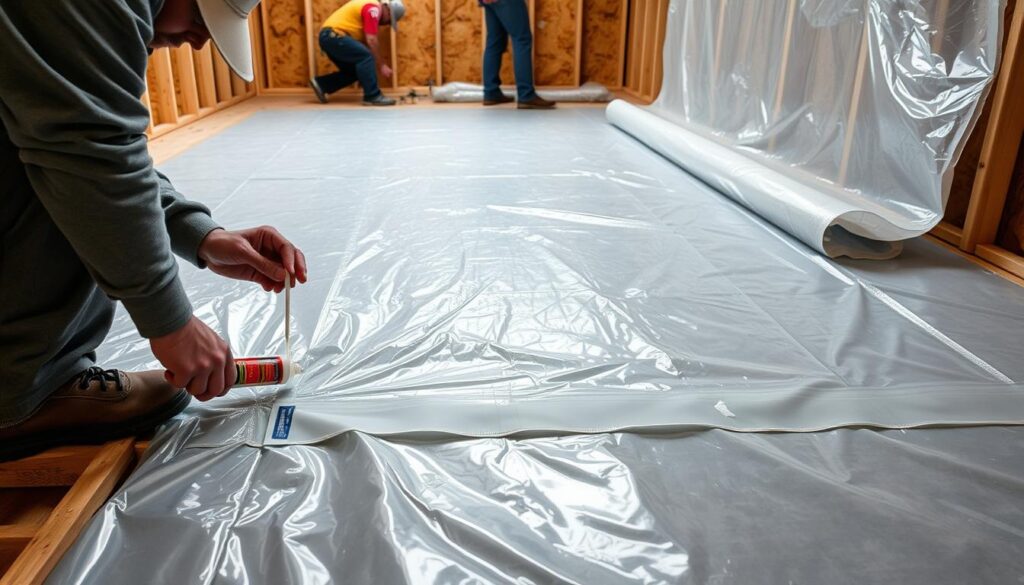
Installation Process Overview
Installing a moisture barrier is key to its success. A good installation process stops water damage and mold. Knowing the time needed for installation is important. It depends on the area size and barrier type.
A moisture barrier installation guide helps with each step. This includes preparation, application, and checking the barrier. Here are some main steps:
- Prepare the area by cleaning and drying the surface
- Apply the moisture barrier according to the manufacturer’s instructions
- Inspect the barrier for any defects or damage
Challenges like uneven surfaces, bad ventilation, and not enough material can happen. It’s important to fix these problems quickly. With a detailed moisture barrier installation guide, homeowners can do a safe and effective job.
Long-Term Cost Benefits of Moisture Barriers
Installing a moisture barrier can save you a lot of money in the long run. It helps prevent damage from moisture, keeping your home safe and healthy. One big plus is that it reduces energy consumption. This means lower bills and a smaller carbon footprint.
Some of the key long-term benefits of moisture barriers include:
- Energy savings: Moisture barriers help keep your home’s temperature steady, saving you money on energy.
- Prevention of structural damage: They protect your home’s foundation, walls, and roof from moisture damage, saving you from expensive repairs.
- Increased property value: A well-protected home with a moisture barrier can increase in value, making it more appealing to buyers.
The benefits of moisture barriers far outlast the cost of installation. By getting one, you’ll save money and have peace of mind. Your home will be safe from moisture damage.
Maintenance Requirements and Costs
Keeping a moisture barrier in good shape is key to its long life and effectiveness. This means doing routine inspections to spot problems early, cleaning to stop dirt and debris from building up, and repairs to fix any damage. The cost of these tasks can change, but they’re a vital investment to protect your property from moisture damage.
Here are some common maintenance tasks and their estimated costs:
- Inspections: $100-$300 per year
- Cleaning: $200-$500 per year
- Repairs: $500-$1,000 per year
By including these maintenance costs in your budget, you can keep your moisture barrier working well. Good upkeep is crucial to avoid expensive repairs and keep your property safe for years to come.
Conclusion: Making an Informed Decision About Moisture Barrier Installation
From this guide, you know how important a moisture barrier is for your home. It protects against damage from too much moisture. You now understand the types of moisture barriers, their installation costs, and the benefits they offer.
This knowledge helps you make a smart choice that fits your needs, budget, and local weather. A good moisture barrier can stop damage and mold. It can also save energy and boost your property value.
By thinking about these points, you can pick the best moisture barrier for your home. This choice will make your living space dry and healthy. You’ll feel more at ease knowing your home is well-protected.
FAQ
What is a moisture barrier?
A moisture barrier is a material, like a plastic sheet or coating, put in homes. It stops moisture from getting through walls, floors, or ceilings. This helps protect against water damage, mold, and mildew.
Why is a moisture barrier important for my home?
Moisture barriers keep your home healthy and safe. They stop water damage, structural problems, and pests.
What types of moisture barriers are available?
You can find different types of moisture barriers. These include polyethylene sheets, PVC membranes, and spray-on coatings. Each has its own uses, so picking the right one is key.
How much does it cost to install a moisture barrier?
The cost to install a moisture barrier varies. It depends on the area size, materials, and if you do it yourself or hire a pro. Material costs are $0.10 to $0.50 per square foot. Labor adds $1 to $5 per square foot.
What factors influence the cost of moisture barrier installation?
Several things affect the cost. These include the area size, your home’s location and climate, and any damage that needs fixing before installation.
How do I choose the right moisture barrier for my climate?
Choosing the right moisture barrier for your climate is important. Consider humidity, temperature, and rain when picking materials like polyethylene, PVC, or specialized coatings.
Should I hire a professional or do it myself?
Whether to hire a pro or DIY depends on your skills and the job’s complexity. Hiring a pro offers warranty and expertise, but DIY can save money if you have the right tools and skills.
What preparation steps are required before installing a moisture barrier?
Before installing, clean the area, fix any damage, and apply primer if needed. These steps can increase the project’s cost.
What is the typical installation process for a moisture barrier?
Installing a moisture barrier involves measuring, cutting, and securing the material. Sealing seams and edges is also part of the process. The time needed depends on the area size and complexity.
What are the long-term cost benefits of installing a moisture barrier?
A moisture barrier offers long-term savings. It reduces heating and cooling needs, prevents damage, and boosts property value.
What maintenance is required for a moisture barrier?
Moisture barriers need regular checks, cleaning, and repairs. These costs should be included in your overall budget.